A durable, watertight seal around your bathtub, shower, and sink is crucial for protecting your home from costly water damage. Mastering the right approach to this task makes all the difference between a professional finish and a recurring problem.
While applying caulk might seem simple, it demands a steady hand, the correct tools, and a systematic method. Rushing the job often leads to gaps, peeling, and mold growth. This guide provides a clear, step-by-step process.
We will walk you through every phase, from essential surface preparation to the final smoothing touch. These Proper Caulking Techniques ensure a long-lasting result for all your bathroom projects.
A successful seal does more than just block water. It improves energy efficiency, prevents pests, and enhances your bathroom’s overall look. Following these steps will help you achieve a clean, durable finish that rivals professional work.
Understanding the Importance of Caulking in Bathroom Maintenance
Beyond just filling gaps, a well-applied bead of caulk acts as your bathroom’s primary defense against moisture. This barrier stops water from seeping behind tiles and fixtures. Left unchecked, this moisture can cause severe damage to subfloors and wall structures within your home.
A strong seal also fights the growth of mold and mildew. These fungi love damp, dark spaces. By keeping areas dry, you protect your family’s health and avoid unsightly black stains.
Good caulking also improves energy efficiency. It seals drafts around windows and pipes, helping to maintain room temperature. This can lead to lower utility bills over time.
Additionally, a continuous seal blocks tiny pests from entering. It closes the small cracks that insects use to invade your space. Regular checks ensure your caulk remains effective.
Most interior caulk jobs last 5 to 10 years. Timely replacement preserves your bathroom’s finishes and protects your investment. Understanding these benefits makes maintenance a priority.
Gathering Supplies and Prepping the Bathroom Surface
The quality of your bathroom seal depends heavily on having the correct supplies and a meticulously cleaned surface. This preparation phase determines how well the new material will adhere and perform over time.
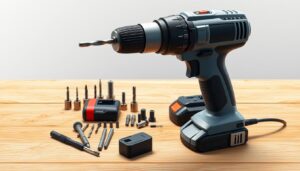
Essential Tools and Materials
You’ll need several key items for a successful project. The right caulk type depends on your specific application area. Always choose bathroom-grade formulas designed for wet environments.
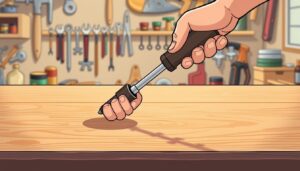
Your tool kit should include a quality caulk gun with solid-shaft design. Professional-grade guns provide even pressure distribution. They typically feature built-in cutters for tubes and steel pins for seal puncturing.
Other essential materials include:
- Sharp utility knife or putty knife for removal
- Caulk finishing tool for smoothing
- Painter’s tape for clean edges
- Rags and cleaning solutions
- Foam backer rod for wide gaps
Proper Surface Cleaning Techniques
Thorough surface preparation is non-negotiable. All joints must be completely free of old material, dirt, and grease. Any residue prevents proper adhesion.
Start by removing all existing sealant with your removal tool. Use a hooked scraper or sharp blade for stubborn sections. Then wipe the area with rubbing alcohol or disinfecting spray.
Rinse thoroughly with water and allow complete drying. For gaps wider than 1/2 inch, press foam backer rod into the space. This provides support and prevents excessive sinking of the new caulk.
Apply painter’s tape along both sides of the joint. This creates crisp, professional lines and makes cleanup easier. Your surface is now ready for application.
Removing Old Caulk for a Clean Seal
A successful new seal relies entirely on the complete removal of the old material. New caulk will not stick to compromised surfaces or leftover residue. This step demands patience for a lasting result.
Begin by softening the existing bead. Use a commercial remover or make a paste with water and powdered cleaner. Apply it and let it sit for several hours to penetrate.
Soften and Scrape Techniques
Once the old caulk is soft, carefully scrape away the material. A sharp utility knife or a putty knife works well for this task. Work slowly to avoid damaging the underlying surface.
Removing silicone requires a different approach. After the initial scrape away, wipe the joint with rubbing alcohol. This removes the final, invisible film that prevents adhesion.
Always test any chemical remover on a small area first. Wear gloves and ensure good ventilation. Taking this time for a perfectly clean surface is the most important part of the process.
Taping the Area for Clean, Crisp Lines
For perfectly straight lines and a clean finish, painter’s tape is your best friend during caulking. This simple step transforms messy applications into professional-looking results.
Apply strips of tape on both sides of the joint. This creates a narrow channel that confines the caulk to exactly where it belongs. The technique protects surrounding areas from accidental smears.
The ideal gap for caulking should not exceed a quarter-inch wide and half-inch deep. Proper dimensions ensure good adhesion while preventing excessive material use. Your surface preparation determines the final outcome.
Remove the tape immediately after smoothing the bead. Pull it away before the caulk begins to skin over. Lift the end and pull upward at a 45-degree angle away from the surface.
This method prevents tearing the fresh bead. It eliminates extensive cleanup needs while dramatically improving the professional appearance of your work.
Cutting the Caulk Tube Nozzle for Perfect Beads
The width and smoothness of your caulk bead are determined by how you cut the tube’s nozzle. This preparation step is essential for controlling material flow.
First, identify your caulk tube type. Hand-held squeeze tubes work for small fixes. Larger jobs need rigid cylinders for a caulk gun.
Many tubes have a foil seal under the cap. Puncture this seal before you start. A built-in pin on your gun often works well.
Use sharp scissors or a utility knife to cut the nozzle. The cut’s location defines the bead size.
- Cut near the tip for a narrow bead in tight joints.
- Trim more off the tube for a wider bead to fill big gaps.
Always cut the nozzle at a 45-degree angle. This slanted tip matches the gun’s application angle. It helps the material lay down smoothly for a professional result.
Quality caulk guns have built-in cutters. This feature makes the job easier and more precise. Proper preparation of the tube ensures a consistent flow from start to finish.
Mastering Proper Caulking Techniques with the Right Tools
Applying a smooth, even bead is the core of a successful seal. The right tools and methods make this process efficient and yield professional results.
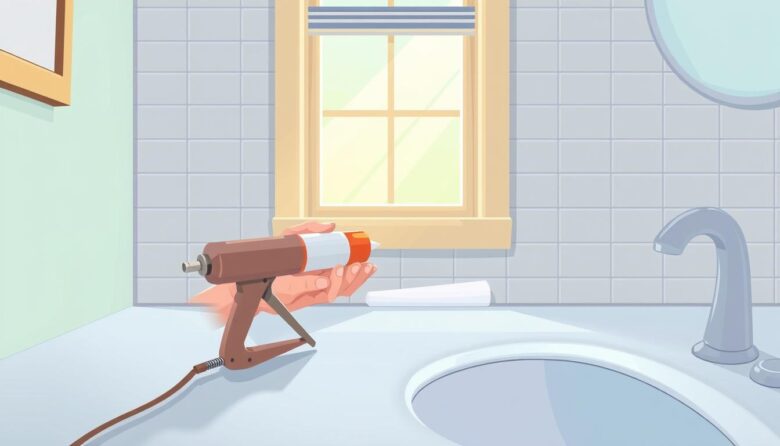
Effective Application Using a Caulk Gun
A quality caulk gun offers the best control. It provides consistent pressure for a uniform bead.
Start by loading the gun correctly. Insert the cartridge snugly into the frame. Press the rear release and adjust the rod so the plunger is fully extended.
Follow these steps for a flawless application:
- Begin at one end of the joint and work continuously.
- Hold the gun steady and slowly squeeze the trigger.
- Press the nozzle into the gap with enough pressure to force material deep inside.
- Move the gun along the joint at a steady pace.
When the trigger reaches the handle, it springs back. Reposition your hand and continue applying steady pressure.
Maintaining a Consistent 45-Degree Angle
The application angle is critical for proper material distribution. Always hold the gun at a 45-degree angle to the surface.
Position the tip so it touches both sides of the gap. This ensures the caulk fills the entire joint.
Keep this 45-degree angle consistent as you move. A steady angle and pace create a clean, continuous bead from start to finish.
Smoothing the Caulk Bead for a Professional Finish
Smoothing is the critical phase where your bathroom seal gains its polished appearance and functional integrity. This step, called tooling, ensures the material makes complete contact with both surfaces.
Use a dedicated finishing tool for the best results. Lightly drag it over the fresh bead with gentle pressure. The goal is shaping without removing excess material.
Many experts prefer using their finger for smoothing. First, moisten your fingertip in warm, soapy water. Then drag it along the entire length with light pressure.
For silicone applications, try the Windex trick. Spray it on the fresh bead before smoothing. This prevents sticking and creates a superior finish.
Remove painter’s tape immediately after tooling. Pull it upward at a 45-degree angle before the caulk sets. This action preserves clean edges.
Keep a damp cloth handy for quick cleanup. Wipe away any excess before it dries. Proper smoothing creates a watertight seal that delivers lasting results.
Choosing the Right Caulk and Essential Tools for the Project
The success of your sealing project begins with choosing the right materials for the specific surfaces involved. Different caulk types serve distinct purposes in bathroom and home improvement projects.
Comparison of Caulk Types
Latex caulks cost $3 to $7 and work well for general interior projects. They clean up with water and accept paint easily. However, they may shrink during drying.
Silicone caulk costs $7 to $10 and excels in wet areas like showers and sinks. It remains flexible in temperature changes but doesn’t accept paint well. This type requires solvent cleanup.
Polyurethane sealants cost $8 to $15 and handle high-stress exterior applications. They offer excellent durability and flexibility for demanding projects.
Recommended Tools and Accessories
Quality tools ensure smooth application and professional results. A reliable caulk gun provides consistent pressure for even beads.
Essential accessories include finishing tools for smoothing and painter’s tape for clean edges. The right tool selection matches your chosen caulk type.
Consider your project’s specific needs when selecting materials. Moisture exposure, temperature changes, and paint requirements guide your choice. Proper material selection ensures long-lasting results.
Maintenance, Repairs, and Long-Term Care of Caulked Areas
Regular upkeep is the key to maximizing the lifespan and effectiveness of your bathroom seal. Good maintenance keeps the caulk looking fresh and fully functional for a longer time.
Clean all areas routinely with mild soap and water. Avoid harsh chemicals that can break down the material. For kitchens and bathrooms, a water and vinegar solution works well to reduce mold without damage.
Inspect all joints in your home at least once a year. Look for cracks, gaps, or discoloration. Reapply when you see these signs of wear.
Interior applications typically last 5-10 years. Exterior projects may need replacement every 2-5 years due to weather exposure.
Remember that drying time and curing time are different. Full curing takes longer and is essential before exposing the seal to water.
Store tubes upright in a cool, dry place. Test older tubes by applying a bead to cardboard. If a skin doesn’t form in 15 minutes, discard it.
For repairs, remove all failed caulk from the joints. Clean the areas thoroughly before a new application. These simple tips prevent small issues from becoming major problems in your home.
Final Thoughts on Achieving a Watertight Bathroom Seal
Mastering the art of a flawless caulk bead is a skill that improves with each project. Your dedication to the process yields professional results that protect your home.
The foundation of success lies in meticulous preparation and careful application. Understanding different materials and using quality tools are essential tips for any sealing task.
These fundamental skills extend far beyond the bathroom. You can apply them to weatherproofing windows, sealing trim on wood surfaces, or filling gaps before you paint.
Approach each project with patience. The results will consistently improve. A well-executed seal is a lasting investment in your property’s value and comfort.