A perfectly aligned display transforms any space, elevating artwork from casual decor to gallery-worthy focal points. While traditional methods rely on basic tools, modern hardware solutions ensure precision alignment that withstands time and environmental factors. Even seasoned experts face challenges when wall irregularities or measurement errors disrupt visual harmony.
Contemporary hanging systems eliminate guesswork through engineered designs. These innovations address common frustrations like crooked displays caused by uneven surfaces or shifting hardware. The right approach combines technical knowledge with an understanding of material interactions between walls, frames, and fasteners.
Successful installations require analyzing surface conditions and selecting appropriate support mechanisms. Specialized hangers distribute weight evenly while allowing micro-adjustments for flawless positioning. This technical foundation prevents recurring alignment issues that plague standard nail-and-hook setups.
Investing in proper techniques delivers immediate visual impact and lasting satisfaction. Your curated collection deserves presentation quality that matches its artistic value – achievable through methodical planning and precision tools.
Essential Tools and Accessories for Perfect Picture Hanging
The right tools turn frustrating projects into effortless, precise results. Modern hardware solutions combine engineering precision with user-friendly designs to ensure artwork stays straight and secure. Let’s explore the specialized products that professionals rely on for flawless installations.
Smart Hardware Selection
Hang Straight Picture Hooks use three nails to create balanced support for wired artwork. Their built-in leveling guide ensures perfect alignment during installation. For adjustable setups, J Hooks feature a threaded bolt system that allows ¾” height changes without removing the piece from the wall.
Heavy-duty options like Wall Buddies reinforce corners with left-right sawtooth pairs. These distribute weight evenly, preventing stress on delicate frames. Small versions handle 30 lbs, while larger models support up to 60 lbs – ideal for oversized canvases.
Protective Add-Ons Matter
Rubber bumpers play a dual role: they protect surfaces and improve airflow. Available in multiple sizes, these adhesive pads prevent scratches while helping artwork maintain its position. Choose dome-shaped or square profiles based on your frame’s depth.
For tricky walls, consider reinforced hangers with wide nail placements. These products grip drywall securely while allowing micro-adjustments. Always match hardware weight ratings to your artwork’s size and wall material for optimal safety.
Easy Steps to “hang frame with level” for Flawless Alignment
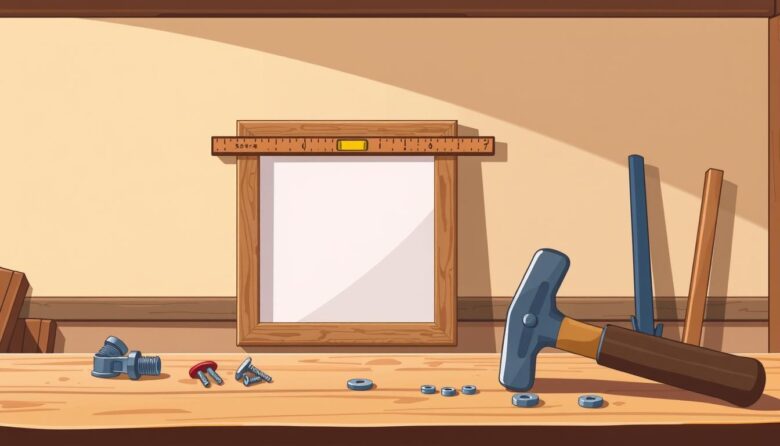
Precision artwork placement starts with strategic preparation. Specialized alignment tools remove measurement errors, letting you visualize the final result before making permanent marks. These systems combine ruler accuracy with instant level verification for foolproof installations.
Marking and Preparing Your Wall
Begin by locating the artwork’s top center position using a measuring tape. Mark this spot lightly with pencil – it becomes your primary reference. For wire-backed pieces, measure from the tightened wire’s peak to the frame’s upper edge to determine hanging height.
Advanced tools like the H.I.P system simplify setup. Slide vertical rulers onto the horizontal bar and secure the knobs. Position the crossbar against the artwork’s upper edge, aligning its center mark with your pencil reference. This creates a transferable blueprint for hardware placement.
Using Built-In Levels and Adjustable Tools
Modern devices integrate bubble levels directly into their design. After positioning your artwork on the tool, check that both side markers align identically. This confirms square placement before transferring measurements to the surface.
Adjustable hooks with threaded components allow ¾” height corrections post-installation. When securing the piece, maintain pressure on its lower edge to prevent shifting. The integrated level confirms horizontal alignment as you finalize positioning.
Insider Tips for Achieving a Straight and Secure Frame
Professional installations demand meticulous attention to hardware interactions and material behaviors. While most focus on initial placement, long-term stability requires addressing unseen forces like wire tension and wall surface friction. These subtle factors determine whether your display stays perfectly positioned for years or requires constant adjustments.
Handling Picture Wire and Hanger Adjustments Like a Pro
Picture wire alignment challenges stem from its natural slack. Always position the wire ⅓ down from the top frame edge to minimize tilt. When mounting, press upward on the bottom edge while aligning the wire to your marked hook position. This compensates for the gap caused by loose strands.
For hangers, install the base ⅛” above your pencil mark. This accounts for the hardware’s height, keeping the artwork at its intended level. Use a torpedo level vertically against the hanger’s edge to confirm straight installation before loading weight.
Leveraging Accessories Like Frame Bumpers for Stability
Adhesive bumpers transform unstable displays. Place two medium-density pads at each bottom corner to create consistent wall spacing. For heavy pieces, use wedge-shaped bumpers that dig slightly into the surface, resisting lateral movement.
Rotate bumpers quarterly to maintain adhesive strength. Combine them with anti-slip pads under the wire for dual anchoring. This approach prevents seasonal shifts caused by temperature changes while protecting delicate wall finishes.
Wrapping It All Up: Bringing Your Art to Life
Gallery walls transform blank spaces into curated exhibitions. These arrangements demand surgical precision – one tilted picture disrupts the entire gallery effect. Modern systems tackle this by combining alignment guides with placement calculators, ensuring every piece sits at its ideal height.
Professional tools excel at solving dual challenges: visual harmony and structural integrity. They work seamlessly with sawtooth hangers, D-rings, and wire configurations. This versatility extends to mounting TVs, mirrors, or shelves, making them essential for diverse wall projects.
The joy of acquiring new artwork lasts when installations maintain their polish. Strategic spacing and level alignment create cohesive displays that command attention. Proper techniques preserve surfaces while keeping items securely positioned through seasons.
Investing in precision tools pays dividends every time you admire your gallery-worthy arrangement. These solutions turn complex projects into satisfying achievements, letting your collection shine exactly as envisioned.


