Mounting heavy decor or functional pieces requires more than just a screwdriver and enthusiasm. Without proper support, screws can tear through surfaces, leaving unsightly holes and potential hazards. This is where specialized hardware becomes essential for distributing weight safely.
Weight capacity determines everything. Objects over 5 pounds demand more than basic fasteners. Drywall alone lacks the strength to hold heavier items long-term, making supplementary support systems non-negotiable. Studs provide natural reinforcement, but they’re rarely positioned where you need them most.
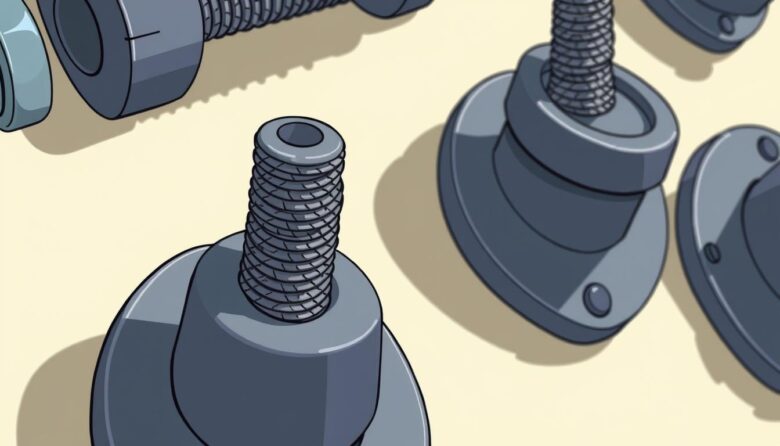
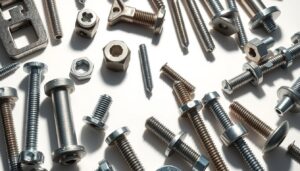
Modern solutions address diverse needs. Toggle bolts handle substantial loads in hollow spaces, while threaded anchors grip tightly in solid materials. Plastic variants work well for medium-weight frames, and metal options offer industrial-grade stability.
Choosing the right tool matters as much as selecting hardware. A stud finder, level, and drill ensure precise placement. Always confirm your wall type—plaster, concrete, or drywall—before starting. Proper preparation prevents costly repairs and keeps your displays securely in place.
By understanding load mechanics and material limitations, you can confidently create sturdy installations. This guide explores proven methods to achieve professional results without compromising your surfaces.
Understanding Drywall and the Challenges of Hanging Heavy Items
Modern interiors rely on gypsum-based panels for their smooth surfaces, but this material crumbles under pressure. Direct mounting of shelves or TVs exposes its fragile core, creating a need for strategic reinforcement.
Structural Support: Framing Essentials
Wooden studs form the backbone behind drywall, spaced precisely 16 inches apart. These vertical beams carry most of a building’s weight, making them ideal for securing heavy objects. Locating them requires specialized tools—electronic stud finders pinpoint edges, while magnetic variants detect nail patterns.
Many homeowners face a common dilemma: desired mounting spots rarely align with hidden supports. This mismatch forces creative solutions to bridge gaps between sturdy framing and decorative placements.
Distributing Weight Effectively
Gypsum panels crack when overloaded, especially near edges or seams. Items exceeding 5 pounds demand systems that spread force across wider areas. Plastic or metal reinforcements work behind the scenes, gripping drywall’s inner layers to prevent pullouts.
Without these supports, screws gradually loosen as materials degrade. Proper anchoring transforms temporary fixes into permanent installations, protecting both your belongings and surfaces.
Essential Tools and Materials for Secure Installation
Proper tool selection ensures both safety and precision when mounting objects. High-quality equipment minimizes errors and maximizes holding power, whether you’re reinforcing shelves or mounting electronics.
Must-Have Tools: Drill, Stud Finder, and More
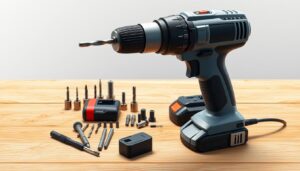
Professional-grade drill/driver systems deliver the torque needed for creating clean pilot holes. Cordless models offer portability, while adjustable clutch settings prevent overdriving screws. Always match bit sizes to anchor specifications—using a ⅛-inch bit for smaller plastic anchors or ½-inch for heavy-duty models.
Stud finders eliminate guesswork in locating wooden supports. Modern sensors detect density changes behind surfaces, flashing or beeping when passing over framing members. Magnetic variants excel at finding metal fasteners in plaster walls.
Masonry bits with carbide tips penetrate concrete or brick efficiently. These require slower drilling speeds and occasional cooling pauses to prevent overheating. Pair them with hammer drill functions for optimal results in hard materials.
Safety goggles protect against flying debris during drilling. Combine them with a tape measure and laser level for exact positioning. Driver bits should correspond to screw heads—Phillips, flathead, or Torx—to maintain grip and prevent stripping.
Types of Drywall Anchors and Their Applications
Selecting the right hardware depends on understanding how different designs interact with materials. Two primary options dominate the market, each suited for specific load requirements and surface conditions.
Plastic Expansion Anchors
Plastic expansion anchors handle light to medium loads, typically supporting 10-30 pounds. These cost-effective solutions come pre-packaged with shelves or picture hooks. When driven into pre-drilled holes, their split-body design flares outward, creating friction against the surrounding material.
Toggle Bolt Systems
For heavy-duty needs, toggle bolts excel with capacities reaching 238 pounds. Spring-loaded wings snap open behind drywall, distributing force across a larger area. This makes them ideal for televisions, cabinets, or floating shelves holding books.
Always factor in dynamic weight—items like coat racks add stress over time. Plastic variants work for static displays, but toggle systems prevent gradual loosening. Reference manufacturer charts to match hardware to your project’s demands.
Comprehensive wall anchors installation guide
The foundation of any sturdy mount lies in correctly sized pilot holes. These preliminary openings determine how well fasteners grip surrounding materials, making their dimensions critical for load-bearing success.
Understanding Pilot Holes and Proper Drill Bits
Drill bit selection directly impacts hole quality. Manufacturer guidelines specify exact sizes needed to match hardware dimensions. Using a bit slightly narrower than the anchor’s width creates necessary friction for expansion mechanisms to function.
Depth control prevents hidden damage. Drill stops or tape markers on bits help avoid puncturing pipes or wires. Test holes with anchors before final insertion to confirm fit.
Self-drilling variants bypass pilot steps but demand controlled force. Over-tightening can strip threads or crack surfaces. Always verify hole size with the anchor itself. Minor adjustments preserve material integrity and ensure optimal performance.
Step-by-Step Techniques for Installing Wall Anchors
Mastering anchor placement transforms unstable mounts into rock-solid fixtures. Precision during each phase prevents surface damage and ensures long-term reliability, whether securing shelves or mounting decor.
Drilling, Inserting Anchors, and Driving Screws
Start with a pilot hole matching the anchor’s diameter. Use a drill stop to control depth, preventing over-penetration. For plastic expansion anchors, rotate clockwise until the collar sits flush with the surface. Toggle variants require inserting the bolt through the mounting plate before threading the wings.
Gradually drive screws to activate expansion mechanisms. Winged designs produce audible clicks when fully engaged. Avoid overtightening—this strips threads or crumbles surrounding material. Self-drilling types need firm pressure but stop when resistance increases.
Ensuring a Flush and Secure Fit
Confirm anchors lie level with the surface using a straightedge. Protruding collars create uneven pressure points, while recessed ones reduce grip strength. Test stability by gently pulling the screw. If it shifts, remove and replace with a larger anchor.
For toggle systems, snap off excess plastic after securing wings behind the panel. Verify screw heads sit flat against mounted items. Proper flush wall alignment ensures seamless placement of frames or brackets without gaps.
Advanced Approaches for Different Wall Materials
Different surfaces demand tailored solutions for secure mounting. Material composition directly impacts hardware performance, requiring adjustments in both tools and techniques. Professional results come from understanding how plaster, brick, and drywall interact with fastening systems.
Material-Specific Fastening Strategies
Plaster surfaces need self-drilling metal anchors to penetrate their dense layers. Plastic variants often snap under pressure, while specialized steel designs cut through hardened material without cracking adjacent areas. Always pre-test anchors on scrap plaster to confirm grip strength.
Brick and masonry require hammer drills paired with carbide-tipped bits. Steel screws with self-tapping threads eliminate separate anchor hardware, biting directly into mortar joints. For hollow blocks, toggle bolts distribute weight across internal cavities effectively.
Drywall benefits from toggle systems when mounting near edges or seams. Metal variants handle dynamic loads better than plastic, preventing gradual loosening. Match bolt length to panel thickness—wings must fully open behind the surface for maximum stability.
Contractors recommend sampling techniques on hidden sections before final placement. This prevents damage to visible areas while confirming hardware compatibility. Proper tool-material alignment ensures lasting results across all surface types.
Troubleshooting Common Installation Issues
Even careful installations can encounter unexpected setbacks. When hardware fails to hold weight or shifts position, strategic removal methods preserve surfaces while preparing for replacements. Identifying root causes prevents repeat issues and maintains structural integrity.
Safe Anchor Extraction Methods
Plastic anchors that have expanded behind the back wall may resist extraction. Use needle-nose pliers to grip exposed collars, twisting counterclockwise while pulling firmly. If resistance persists, push the anchor into the cavity using a screwdriver—this avoids enlarging existing holes.
Toggle-style hardware requires different tactics. Retract wings by unscrewing bolts completely, then gently rock the anchor sideways until it dislodges. Always inspect the hole wall for cracks or widening before reusing the location.
- Assess damage by shining a flashlight into cavities
- Apply spackle with a putty knife for small holes
- Sand repaired areas smooth before touch-up painting
Over-tightened screws often strip anchor threads. Test grip strength by hand-tightening before applying full pressure. If the screw spins freely, replace the hardware with a larger diameter model.
For persistent problems, consider cavity insertion. Pushing failed anchors deeper allows immediate hole wall repair without demolition. This approach works best when relocation isn’t practical.
Final Tips and Next Steps for a Durable Hanging Solution
Professional-grade stability starts with strategic planning and informed hardware choices. Always select anchors rated for at least double your item’s weight to account for dynamic loads like added books or seasonal decor. This safety buffer prevents gradual failures as materials age.
Distribute weight across multiple points for wide shelving systems or mirrors. Spacing fasteners evenly reduces stress on individual anchors. Pair this approach with proper hole alignment using laser levels for flawless results.
Build confidence by testing installations with temporary loads before finalizing. Check screw threads for secure engagement and toggle wings for full expansion behind surfaces. Keep spare hardware types on hand for quick adjustments.
Mastering these methods eliminates reliance on contractors for routine projects. With practice, you’ll develop an instinct for matching anchor types to material strengths—transforming uncertainty into DIY mastery.


